Custom Curtain Rod Guide > Brackets

Brackets
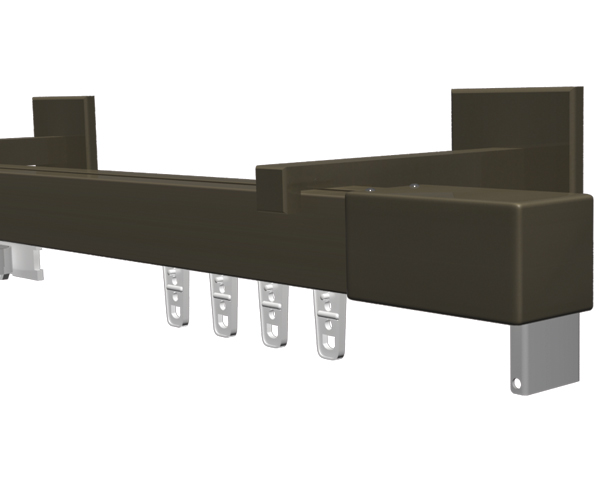
With just a few exceptions, brackets for Heavy-Duty Curtain Rods and Decorative Traverse Rods are comprised of two main components: the Wall Mount Arm and the Ceiling Bracket (Cam Assembly). The actual “ceiling bracket†is included as part of the wall bracket. It sounds confusing, but it’s actually really simple.
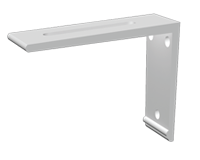
Wall Mount Arm
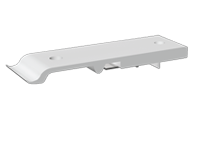
Ceiling Bracket (Cam Assembly)
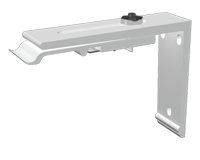
Complete Wall Bracket
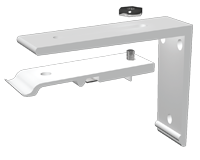
Exploded View
More often than not, your wall mount brackets will arrive
unassembled. So, it may appear a little confusing, but it’s
really super easy. Just attach the cam assembly (or ceiling
bracket) to the wall mount arm and you’re finished.
Your wall mount arm and cam assembly may vary
greatly from the example images on this page. Each
rod profile requires a different style cam assembly to
attach to the notches in the track. However, for nearly
all rod styles, the method of assembling the bracket
remains the same.
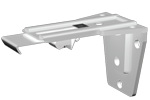
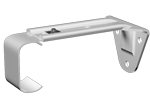
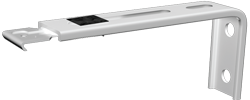
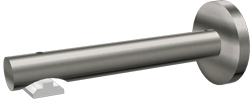
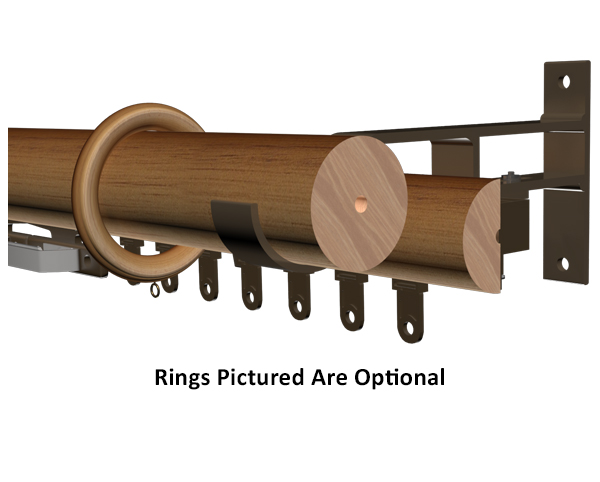
Brackets for Heavy-Duty Curtain Rods and Decorative Traverse Rods can come in many shapes, styles and sizes. But, as you can see, nearly all work in the same fashion. The ceiling bracket component combines with a wall mount arm to create the complete bracket. Of course, if you’re installing to the ceiling, you’ll only use the ceiling bracket portion. And, if you’re installing a double rod, your wall mount arm will have two slots, one for the front rod and one for the rear rod. You’ll use a ceiling bracket (cam assembly) in each slot - one for each rod.

