Custom Curtain Rod Guide > Multi-Section And Double Rods

Multi-Part Rods That Butt Together During Install
If your drapery rod has been made in sections due to size, and either no
physical splice exists or the rod width exceeds the maximum
single piece limit - you will have to butt the rod sections together
during install.
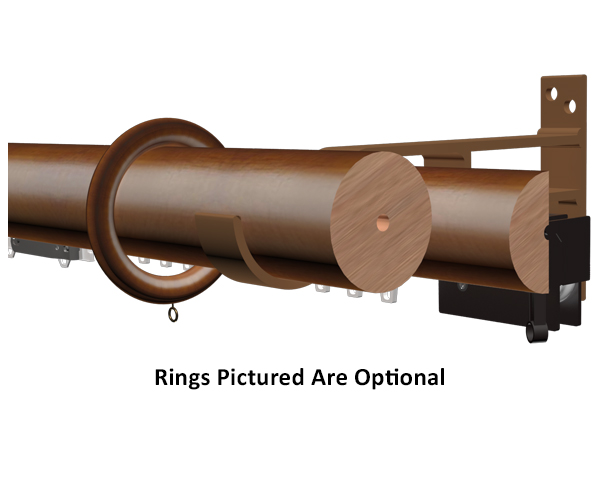
Start by installing two wall brackets (or ceiling brackets) at the
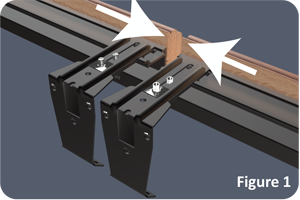
split point and align the two rod sections together (see Figure 1).
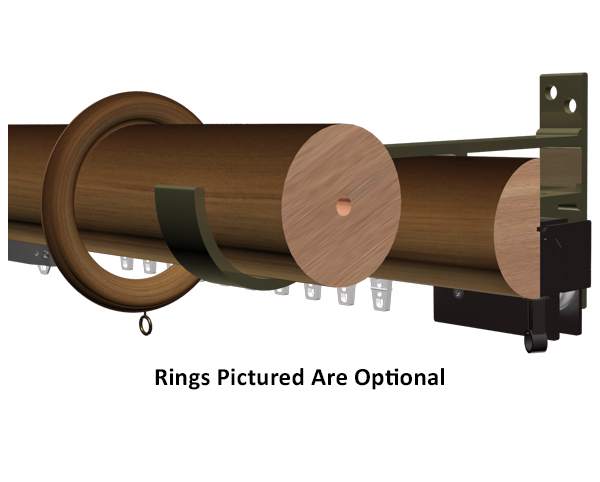
Do not engage the locking cams. Then, gently slide the rod
sections together until they touch and there is no gap between
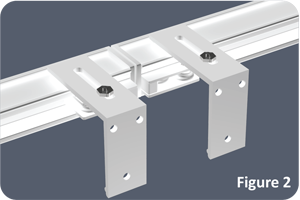
them (see Figure 2). Lock the cams once the rod is in its final
position with no gap between the sections.
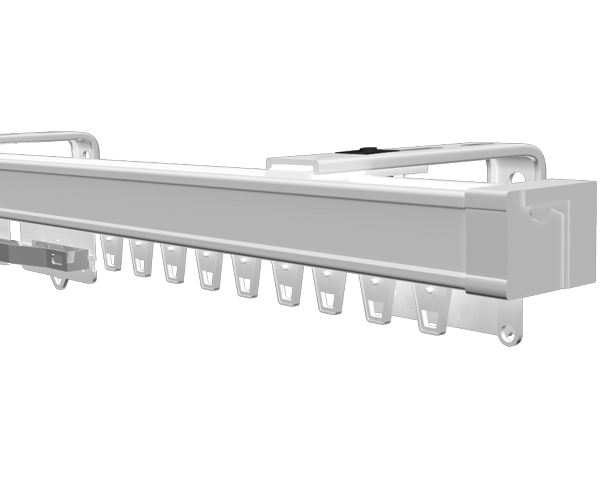
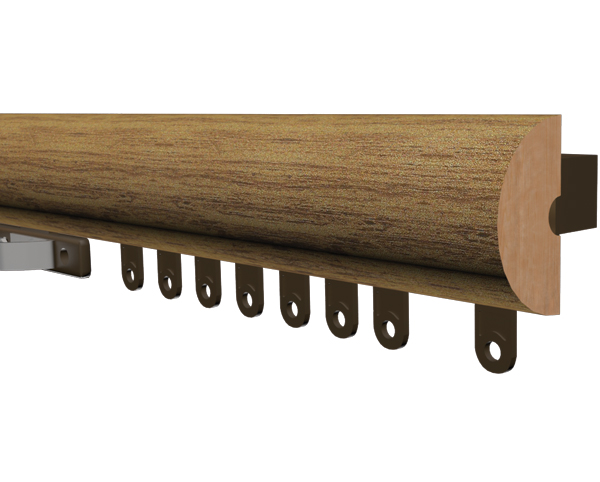
Figure 1: Decorative Traverse Drapery Rod with Wood Fascia, aligned
and ready to be “slid togetherâ€. In this example image, the rod
is pre-strung as a single unit.
Figure 2: Heavy-Duty Curtain Rod, made as two independent
rods, one is one-way right, the other one-way left combined to
create a split-draw treatment. This method is used when your
overall rod size exceeds the maximum single piece limit.
Brackets For Double Curtain Rods
There is little difference between installing single brackets and double brackets. For most double rods, there will be two independent cam assemblies and a wall mount arm. Double brackets will typically have two slotted sections, one for each cam assembly.
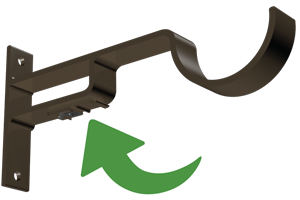
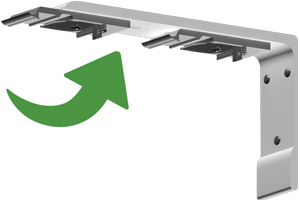
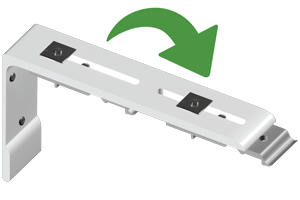
Specialty double brackets will also have slots for the cam assembly. While your exact bracket may not be pictured here, the method for assembling and installing a double bracket remains the same.


