Custom Curtain Rod Guide > Installing Brackets And Supports

Brackets And Supports
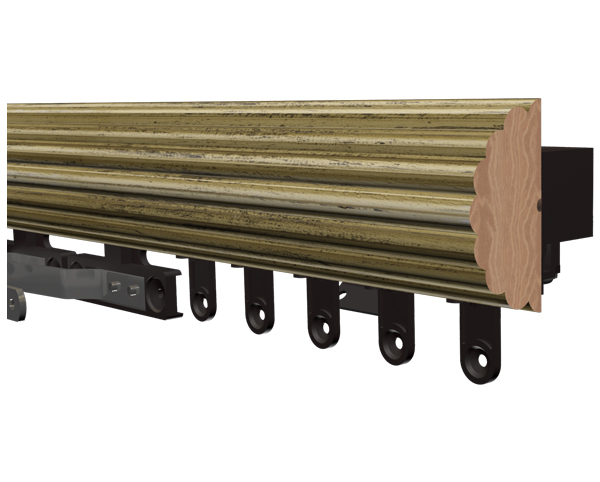
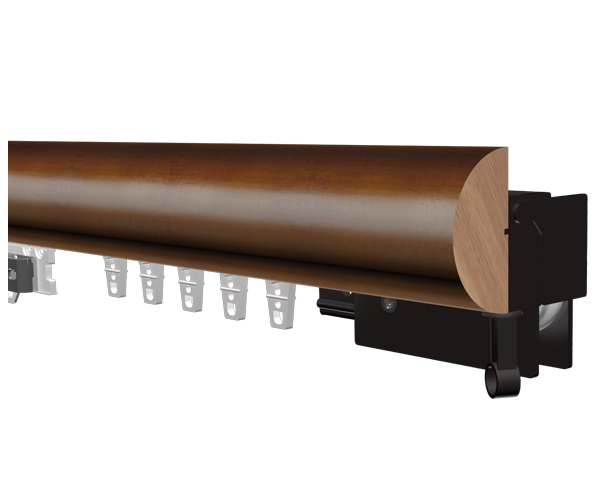
While your exact style may not be pictured here, most all brackets include a Wall Mount Arm and Cam Assembly which combine to form a complete wall bracket.


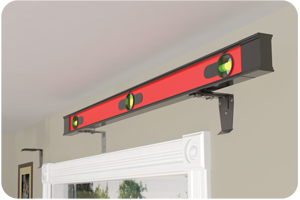
Measure Carefully And Use A Level: Don’t assume your ceiling, your trim, or whatever you use as a base point to measure from is level. Measure, mark and verify with level. Install your brackets and verify again using a level. There isn’t much “play†with Heavy-Duty Curtain Rods or Decorative Traverse Drapery Rods rods, so you can’t fudge-it a little when you hang the track. If your brackets aren’t even and level, the track isn’t going to snap in. You need to install a bracket or support every three to four linear feet of rod. Rods five feet or more may require a center support.
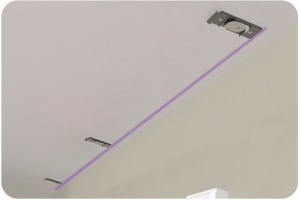
Pop A Chalk Line For Ceiling Mount: The most difficult part of installing a Heavy-Duty or Decorative Traverse rod is getting the brackets even, level and straight. A variance of as little as 1/8†can prevent you from being able to install your rod. So, do everything you can to get it right the first time. Sure, it’s a mess... but, popping a chalk line for ceiling mount is the best way to make certain you get the brackets installed evenly. Ceiling mount brackets should be positioned every three to four linear feet of rod. Never, under any circumstances, use hollow-wall anchors with ceiling mount rods.
Don’t Use Plastic Hollow-Wall Anchors

Exhaust Every Option Before Using Any Style Hollow-Wall Anchor. But, if you absolutely must use a hollow-wall anchor, visit your local hardware or home improvement store to purchase the properly rated and weight tested expanding metal hollow-wall anchor. Purchase an anchor rated to hold the weight of your curtains plus the weight of your rod and hardware. And, just in case you missed it before... we aren’t going to send screws for the brackets because we don’t know anything about your mounting surface. Purchase the appropriate screw at your local hardware store.

